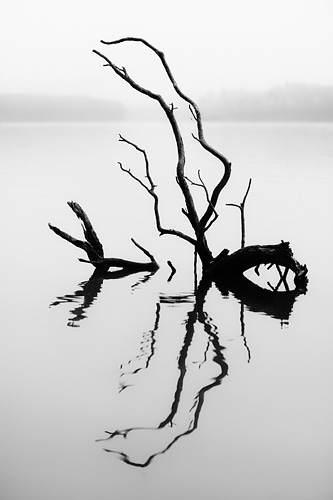
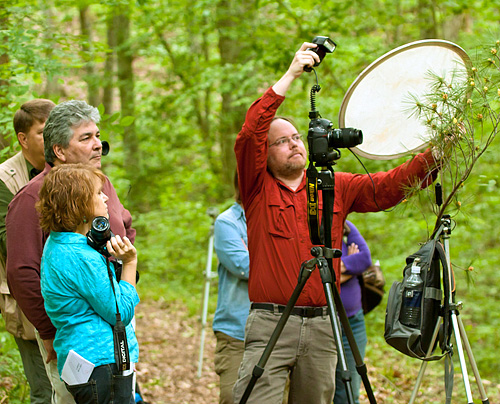
Some great images were created during the photography workshop on Bald Head Island last month. Bald Head Island is a wonderful location for nature photography, and each participant brought their own perspective to the subjects we covered.
DAY 1:
I like to begin photography workshops with difficult subjects where the image ideas are not immediately obvious. The lessons learned in the struggle to make an image in these situations help later when trying to find a unique approach to more obvious subjects. Also, observing the struggles of participants and talking with them about it helps me get a sense of how I can best help them with their photography.
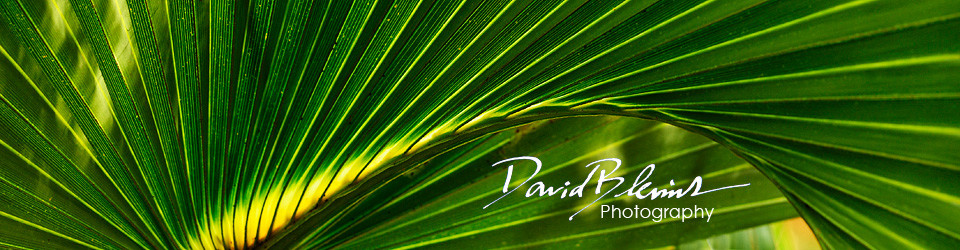
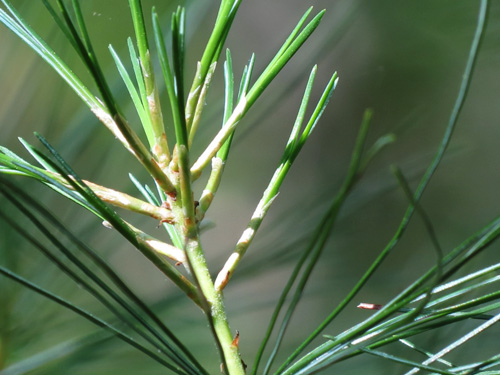
I started the workshop by challenging the participants to photograph palmetto leaves. The sabal palmetto tree is rare in North Carolina and reaches the northern limit of its range just north of Bald Head Island. To me, the striking visual design of a palmetto leaf is an iconic symbol of Bald Head Island. We all struggled with this subject for over an hour. After a while I made an image to demonstrate how I approach a subject like this.
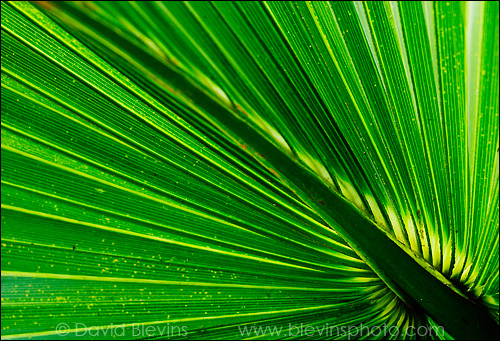
Focusing a composition on one simple idea, such as the radiating lines of a palmetto leaf, make it easy for the viewer to understand and appreciate the image. Direct sunlight shining through a leaf gives it a spectacular glow and highlights the internal structure. Finding a leaf where you can see its simple visual design without distracting elements in interesting light is the first step. Once you find an interesting leaf in good light, making a good image is much easier.
– David Blevins
I mentioned that I was going to look for animals on the palmetto leaves because I thought it would be great to use the light shining through a leaf to create a silhouette of the animal, giving an additional element of interest to the composition. I did not find one, but Kim did!

David made this suggestion in one of our discussions of an image he was hoping to find. A few minutes later, there it was, an insect silhouetted against a leaf. Lesson learned: sometimes the obvious photo opportunity is not obvious even though it is right there in front of us.
– Kim Hawks
I noticed one of the participants was not making images so I asked her what she was thinking about. She said she was not very excited about leaves and was having trouble with this subject. I asked her what she was excited about photographing and she said, “the ocean.” I thought about it for a moment and suggested she could try to see an ocean wave in the shapes and patterns of a palmetto leaf. I made this image to demonstrate the idea.

An ocean wave in a palmetto leaf. Learning to see objects without their labels is an important skill to develop to free you from the prison of a left-brained and verbal way of seeing.
– David Blevins
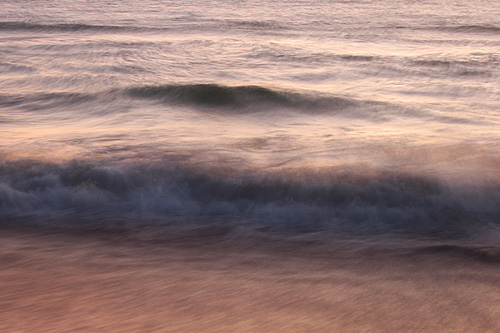
After struggling with palmetto leaves, we headed to Cape Fear Point to work in the rapidly improving afternoon light. We spent a lot of time talking about how to take manual control of exposure to achieve effects like motion blur from a long shutter speed. As the sun set and the light faded, we were able to make some interesting images using long exposures of the moving surf.
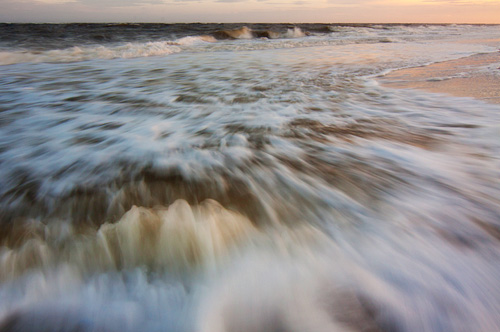
I’d taken the obvious shots I had in my head and decided to shoot the waves in slow motion. Lesson learned: Slow motion waves really show motion/movement well! Lesson learned again: When you’ve made all the photographs you can imagine, there are still images to be imagined, seen and created. – Kim Hawks
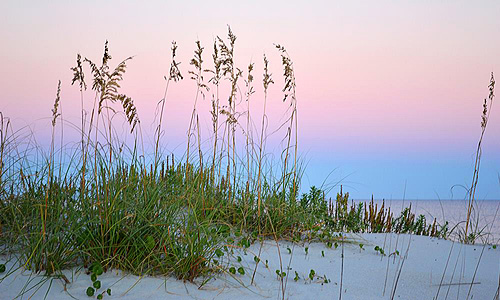
While most of us were focused on the ocean, Maggie worked on the view in the opposite direction, where the sun was setting and the sky was most colorful.
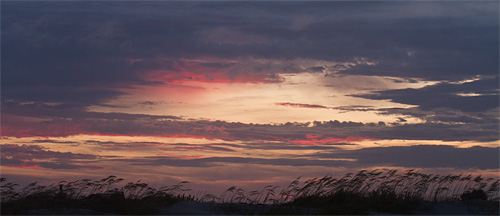
Sea oats at sunset. – Maggie Zwilling
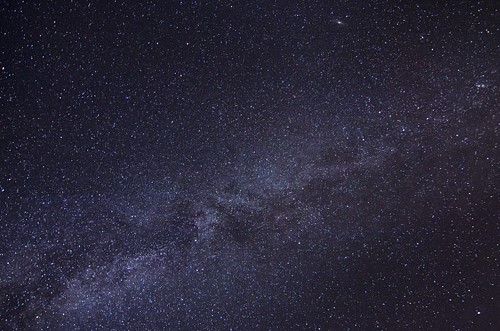
We worked well into dusk experimenting with long exposures. After dark, as we were hiking back up the beach, I noticed the light from the full moon reflected in the surf as it curved toward the horizon. Kim was walking beside me, and I knew she was interested in trying some photography at night, so I pointed out the opportunity to her, and she did a great job.

We were on our way back to the house; it was getting late. We were all marveling at the magic of the full moon. David told me to turn around and look. Lesson learned: when you think you’re done, there’s always another angle to consider. – Kim Hawks
DAY 2:
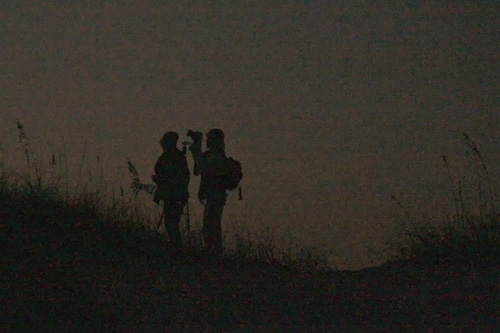
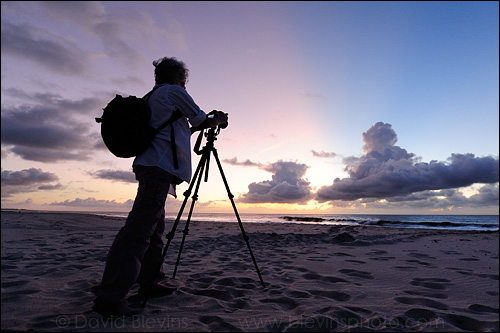
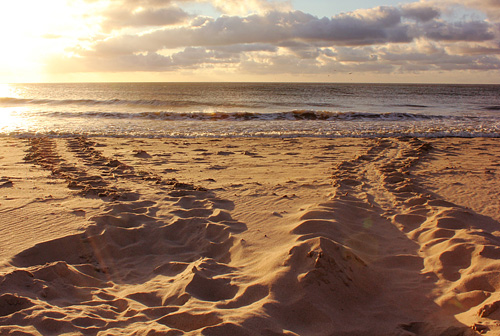
Nights are short this time of year so no one had time for a full night’s sleep before we met at 5:30am for the sunrise shoot. I told everyone the night before that I was hoping for something special this morning. My friends at the Bald Head Island Conservancy agreed to let me know if the nightly sea turtle patrol found any sea turtle tracks on the beach. Right at 5:30am I received a text with great news; there were tracks on East Beach, not far from an access point. We sped off and made it to the location while the predawn light was still soft.
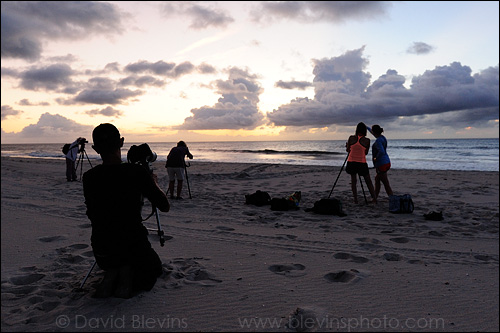
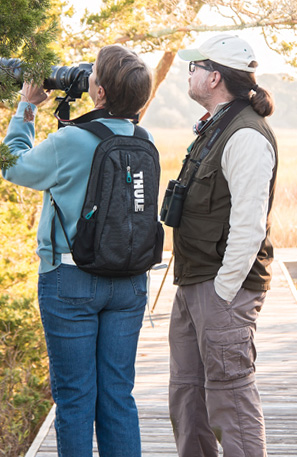
Workshop participants photographing sea turtle tracks at dawn. – David Blevins
The light was spectacular. We had everything from soft pastel light while the sun was still below the horizon, to soft and warm light while the sun was behind clouds, to hard warm light when the sun peaked out from the clouds.
Kim photographing sea turtle tracks in the soft pastel light before dawn. – David Blevins
Kim made this image of the sea turtle tracks in the soft and warm light while the sun was behind a cloud. She used a long shutter speed to render the surf in a soft painterly way.

Sea turtle tracks. – Kim Hawks
Janet photographed the sea turtle tracks in cooler light with a long telephoto lens to compress distance.
Sea Turtle Tracks. – Janet Hilton
Sydney made this image of the tracks using the warm hard light after the sun came out from behind the clouds to give the tracks more contrast.
Sea Turtle Tracks. – Sydney Cass
As the sun rose higher, the quality of the light began to change. Sydney made this lovely seascape that shows a rain shower on the horizon as the sun began to peak out of the clouds.

Morning rain. – Sydney Cass
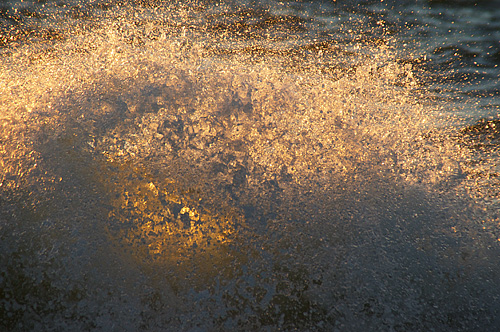
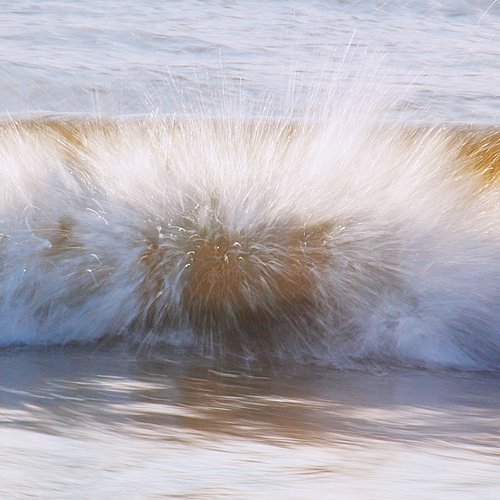
If you look carefully at the waves in Sydney’s shot above you can see what I was noticing at this moment; the sunlight was shining through the crashing waves, giving them a wonderful glow. I switched to a long telephoto lens and captured one of these glowing waves.

Sunlight shining through a crashing wave. – David Blevins
While I was using a fast shutter speed to freeze the motion of the waves, Kim was using the slow shutter speed techniques we covered the previous evening to create some interesting effects with the crashing waves.
The sun was high and bright and not the best for landscape shots. A few of us sat down with David and began zooming in on the waves right in front of us. Lesson learned: When the light is lousy, there is still something to photograph. – Kim Hawks
One of my favorite images from the workshop was made by Janet while most of us were focused on turtle tracks. It just goes to show how important it is to not become so fixated on what you are working on that you miss the unexpected.
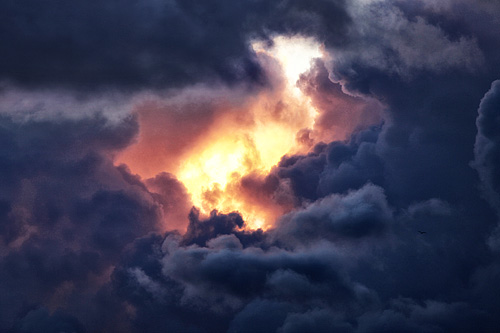
Clouds. – Janet Hilton
When Janet showed us all her image I said, “it looks like when you die and go to heaven.” Sydney’s wry response was, “how do you know what that looks like?” I laughed and thought about it for a moment, “Hollywood” was all I could say.